- Log into Mailchimp using the latest username and password.
- Create a new campaign, select ‘regular email’, and edit the name using the expected sending date in the format YYYYMMDD (ie 19700101).
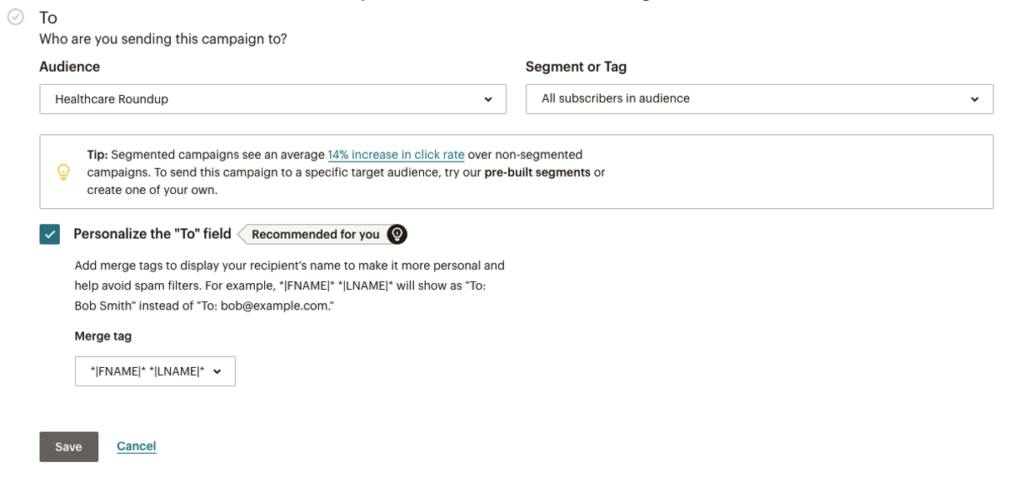
- Under the ‘to’ section, confirm the options to match the following:
- Under subject, copy and paste the subject line and preview text from the Word document into the Mailchimp fields.
- Click ‘design email’.
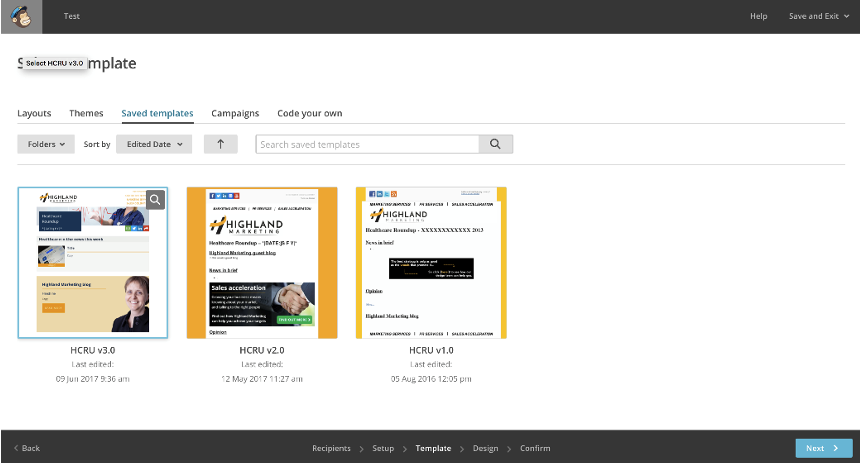
- Click ‘saved’ templates’, then select the latest version of the HCRU template.
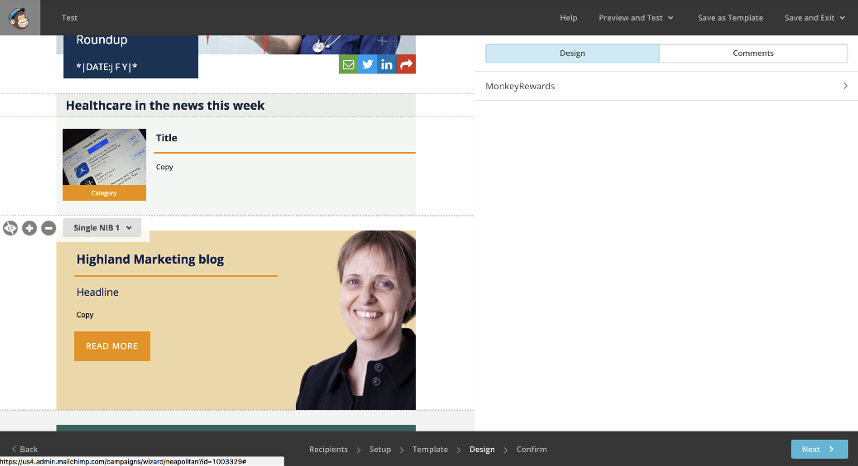
- Using the content sent through for the HCRU in a Word document, adjust the number of NIBs by pressing the + and – buttons shown to the bottom left of the NIB when your cursor hovers over the top. Hide featured content blocks (below the NIBs) by pressing the hide button to the left of the + and the – buttons.
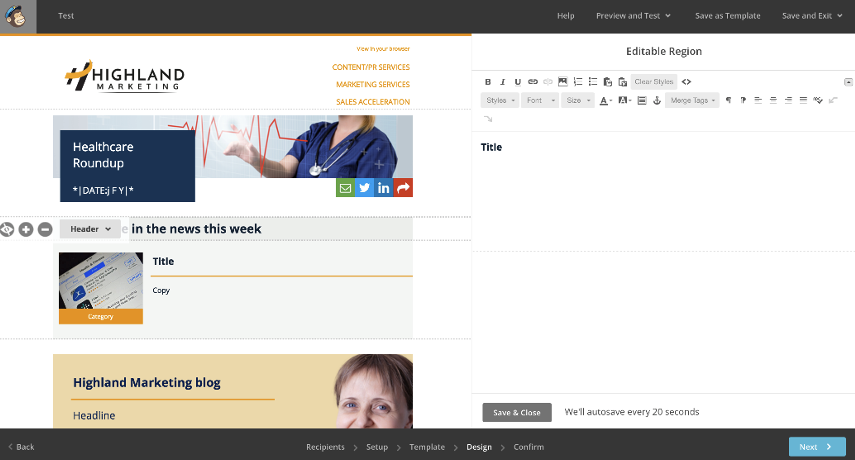
- Go through each section copying and pasting all information across into the HCRU template. To edit text, click on the content on the left-hand side window, this will open an editing panel on the right hand side. When you have finished editing a section, press ‘save & close’. Make sure no styles are pasted from the Word document when editing the text (bold, underline, italics etc). The correct styling will be applied by the template.
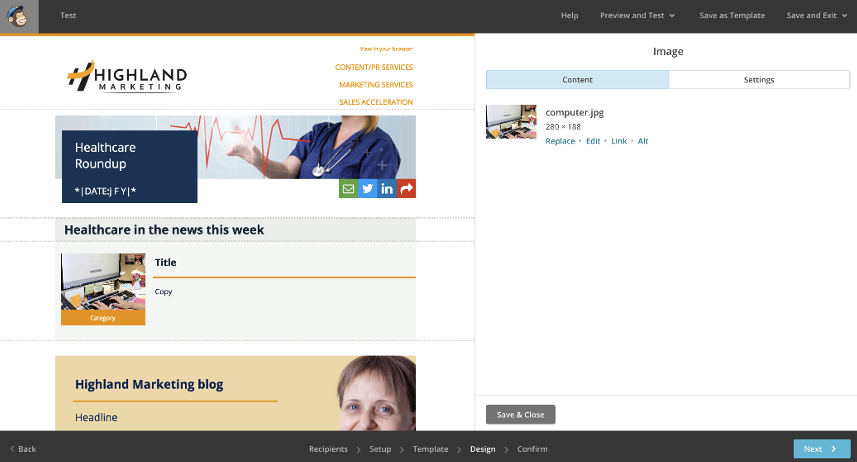
- Using the instruction supplied in the Word document, search for appropriate imagery for each NIB either in the Mailchimp or iStock library. Make sure we have explicit permission from the copyright owner, or appropriate license before using imagery. Do not use imagery if this is unclear. Using a graphics editor, proportionally resize and crop the images to be 280 x 188 at 72dpi exactly. For each NIB in the HCRU template, change the featured image by clicking on each one in turn and replacing the placeholder with your generated images. Make sure to manually set the width of each image to 140 under ‘settings’. Set the alt text for each image to match the NIB headline.
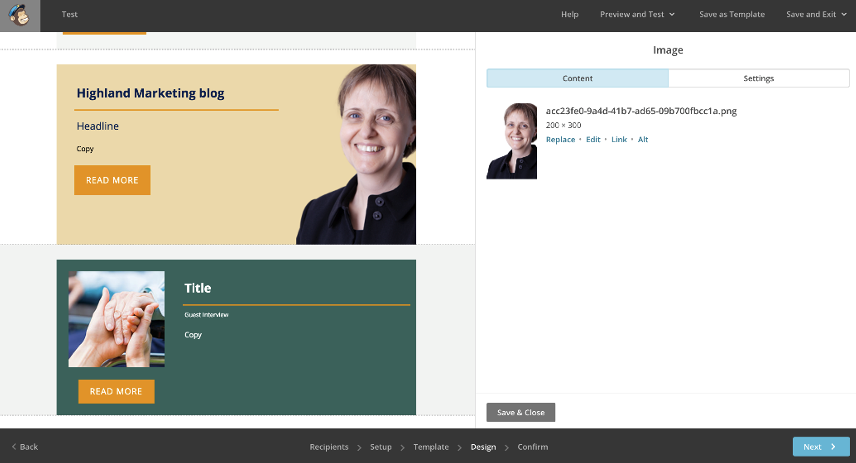
- Do the same for any featured content blocks. Set the alt text to the content title. The featured content imagery needs to be generated in Photoshop using the appropriate template found in Dropbox under Design > Highland Marketing > HM 20170412 HCRU New Template. The image should be cropped to 400px x 400px, and set under the image settings to resize down to 160px x 160px.
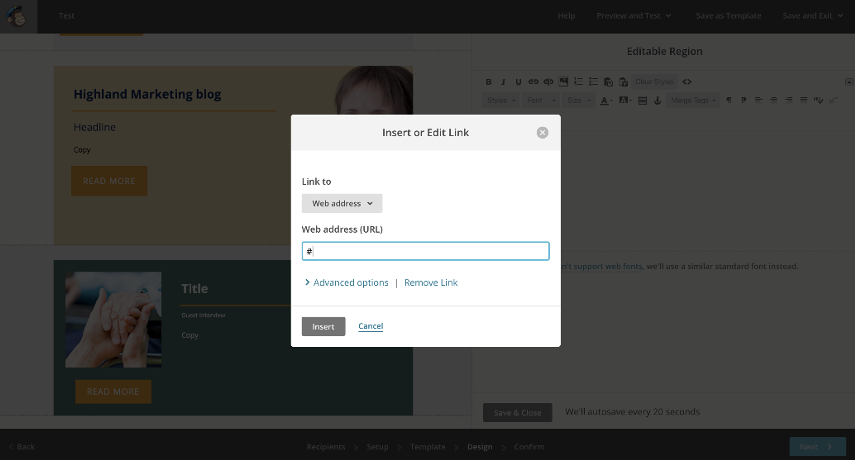
- For any featured content blocks add the link to the ‘read more’ button.
- Check over the template and the changes you have made.
- Send a test email for checking and sign off.

- Make any changes necessary, and once sign off has been received press ‘continue’, then schedule. Schedule the HCRU to be sent at the appropriate time. For HCRUs this is normally Fridays at 5pm.
- Log in to the Highland Marketing website.
- Create a new roundup post using the details sent across with the Word document, adding the title, body, featured image, featured image caption, tags and redirect. The redirect URL is generated when sending the Mailchimp campaign. You can find this URL by copying the URL from the ‘view in your browser’ link in the top right of the campaign.
- Publish the post and check it is working correctly on the public front end.
- Post the HCRU link and featured image to the HM > HCRU channel, usually as a reply to this week’s thread. They can also find this directly on the HM website once step 1.18 is complete.